
The Art of Transforming a Home: A Professional Guide to Painting Your House
- Jhon Jair Grisales

- Mar 12
- 4 min read
Painting your house can feel like a daunting task, but it offers one of the best ways to transform your living space. A fresh coat of paint can breathe new life into your home, elevate your mood, and significantly increase your property's value. In fact, a well-executed paint job can boost your home's value by up to 5 percent. This guide covers the essential steps and strategies to ensure your painting project is successful and satisfying.
Why Painting Matters
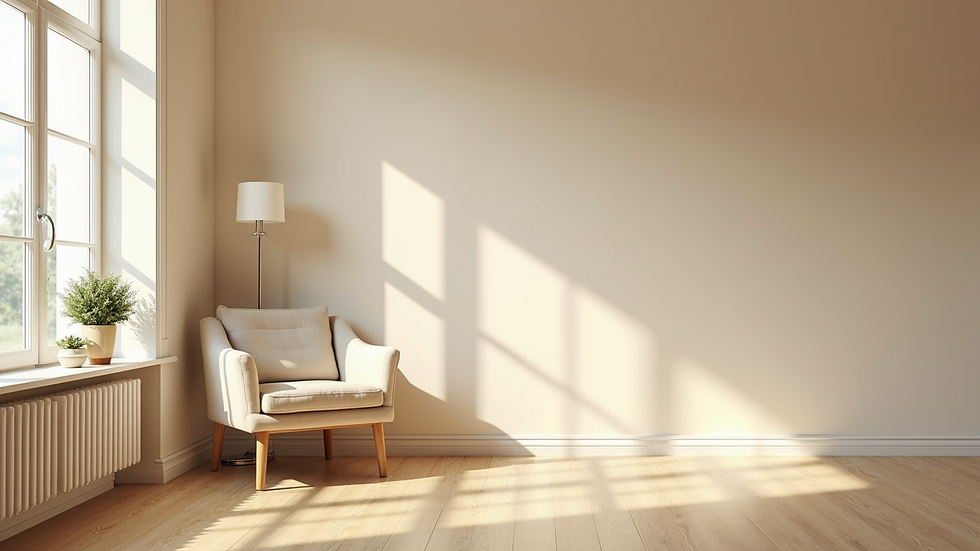
When you decide to paint your house, you're not just changing the color of your walls; you're enhancing the ambiance, increasing curb appeal, and protecting surfaces from deterioration. Paint serves as a shield against moisture, dirt, and sunlight, which can prolong the life of your walls by as much as 10 years.
Additionally, colors can influence the mood of a room. Soft hues like pale blue can create a calm environment, while vibrant colors like sunny yellow can energize your space. According to studies in color psychology, warm tones can stimulate appetite and social interaction, making them ideal for dining areas.
Planning Your Painting Project
Before you start rolling on the paint, thorough planning is critical. Consider the following steps to prepare:
1. Determine Your Goals
Are you painting the interior, exterior, or both? Decide if you're refreshing the current color or embracing a new palette. Each area of your house may need different considerations. For example, outdoor paint should typically withstand various weather conditions, while interior paint may focus more on aesthetics.
2. Choose Your Colors Wisely
Color selection can be both exciting and overwhelming. Take time to explore various color schemes and trends. Tools like color swatches and virtual painting apps can help you visualize how different shades will look in your space. For instance, if you want to create a cohesive look, consider a color wheel to find complementary shades.
3. Gather Your Supplies
Ensure you have the necessary tools before diving into the painting process. This includes:
High-quality paint (both primer and color)
Brushes and rollers
Painter’s tape
Drop cloths
Ladders (if needed)
This preparation will save you time and help you achieve a professional finish.
Preparing the Surface
Proper preparation is vital for a flawless paint job. Here's how to get your surfaces ready:
1. Clean the Walls
Dust and grime can hinder paint adhesion. Use a mild detergent solution to wipe down your walls and allow them to dry completely. Did you know that surfaces with dust can reduce paint lifespan by up to 50 percent?
2. Repair Imperfections
Inspect the surface for holes, cracks, and dents. Fill these imperfections with spackling compound or putty, and sand the areas smooth once dry. This step ensures a uniform paint finish and helps avoid an uneven appearance.
3. Tape Off Edges
Use painter’s tape to protect trim, windows, and ceilings. This will help ensure clean lines and prevent paint from straying into unwanted areas. A good tip is to burnish the tape edges with a credit card for an extra seal.
The Painting Process
With everything prepared, it’s time to start painting.
1. Prime First
If you're changing the color dramatically or painting over a stained surface, a primer is essential. It creates a uniform base for the paint, helping it adhere better and ensuring true color representation. Lack of primer can cause colors to appear muted or washed out.
2. Start with Edges
Begin by painting the edges and corners with a brush. This step, known as "cutting in," allows you to achieve a crisp look in the finish, especially around intricate moldings.
3. Roll on the Paint
Once the edges are done, switch to a roller for the main surfaces. Use a "W" motion for even application. Applying two coats is often best for vibrant color and better coverage. Statistics show that two coats can increase the durability of the paint by as much as 30 percent.
4. Take Breaks
Painting can be tiring, so plan breaks to assess your work. This gives you a chance to notice any missed spots or areas needing extra attention.
Final Touches to Your Project
After your paint has dried, there are a few final steps to enhance your newly painted space:
1. Remove Painter’s Tape
Carefully pull off the painter's tape at a 45-degree angle while the paint is still a little tacky. This helps avoid peeling and keeps edges sharp.
2. Clean Up
Wipe up any spills immediately and dispose of painter’s materials responsibly. Clean your brushes and rollers thoroughly for future use to prevent paint hardening.
3. Enjoy Your New Space
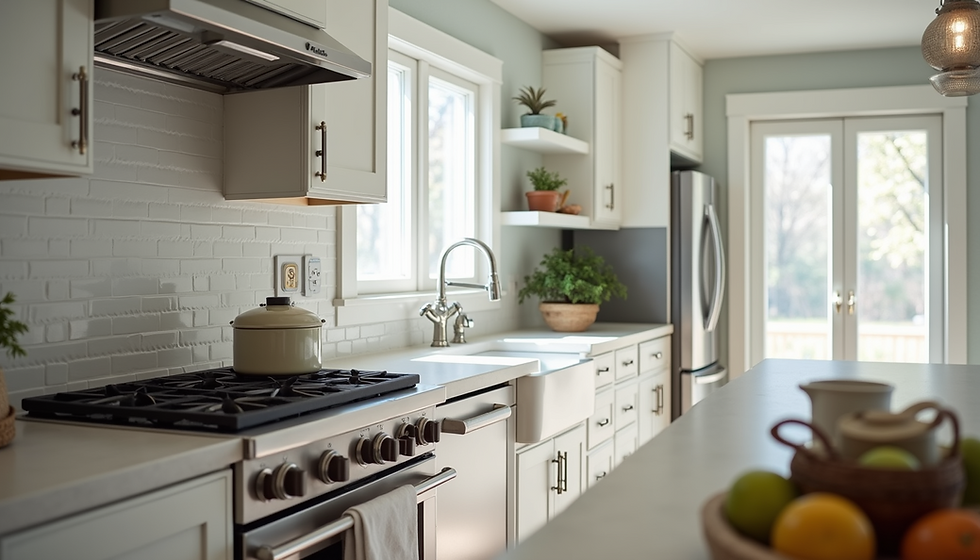
Take the time to stand back and admire your work. Think about adding decor elements that complement your newly painted walls to further enhance your space. For example, a well-placed mirror can reflect light and make your room feel larger.
Takeaway
Painting your house may seem like a challenge, but with careful planning and execution, it can also be one of the most rewarding home improvement projects. The right color and professional techniques can transform not just your home’s appearance but also the way you feel in your space.
Whether you choose to tackle this project yourself or hire professionals, remember that a well-painted home reflects personal style and care. Get ready for a transformation that will impress you every time you walk through your door!

Comments